In Order of the Sinking Star, Skipping Stones lily pads become moving routes when stones disturb the water and currents carry the pads onward. Plan the stone's launch, the pad's resulting path, and the place where the Sailor can board. Use the function that slows time when the arrangement works but boarding or coordination is difficult.
This guide covers the supported stone-and-pad relationship and specific examples from later Mirrors and Stones puzzles. It does not present a numbered walkthrough of the opening southern level. The mixed-area examples require mirrors and the characters described, so do not apply them to an early southern screen that lacks those objects.
Read the stone path and pad path separately
A stone skips across water and lands on the first available spot on the opposite side. When it travels past a lily pad, the water disturbance can send the pad along a perpendicular direction. The stone and pad therefore do not necessarily move toward the same destination.
Watch both results after a push. The stone's landing position solves one part of the arrangement, while the pad's motion solves another. Sending a stone away from the island you want to reach can still produce the pad movement that takes you there.
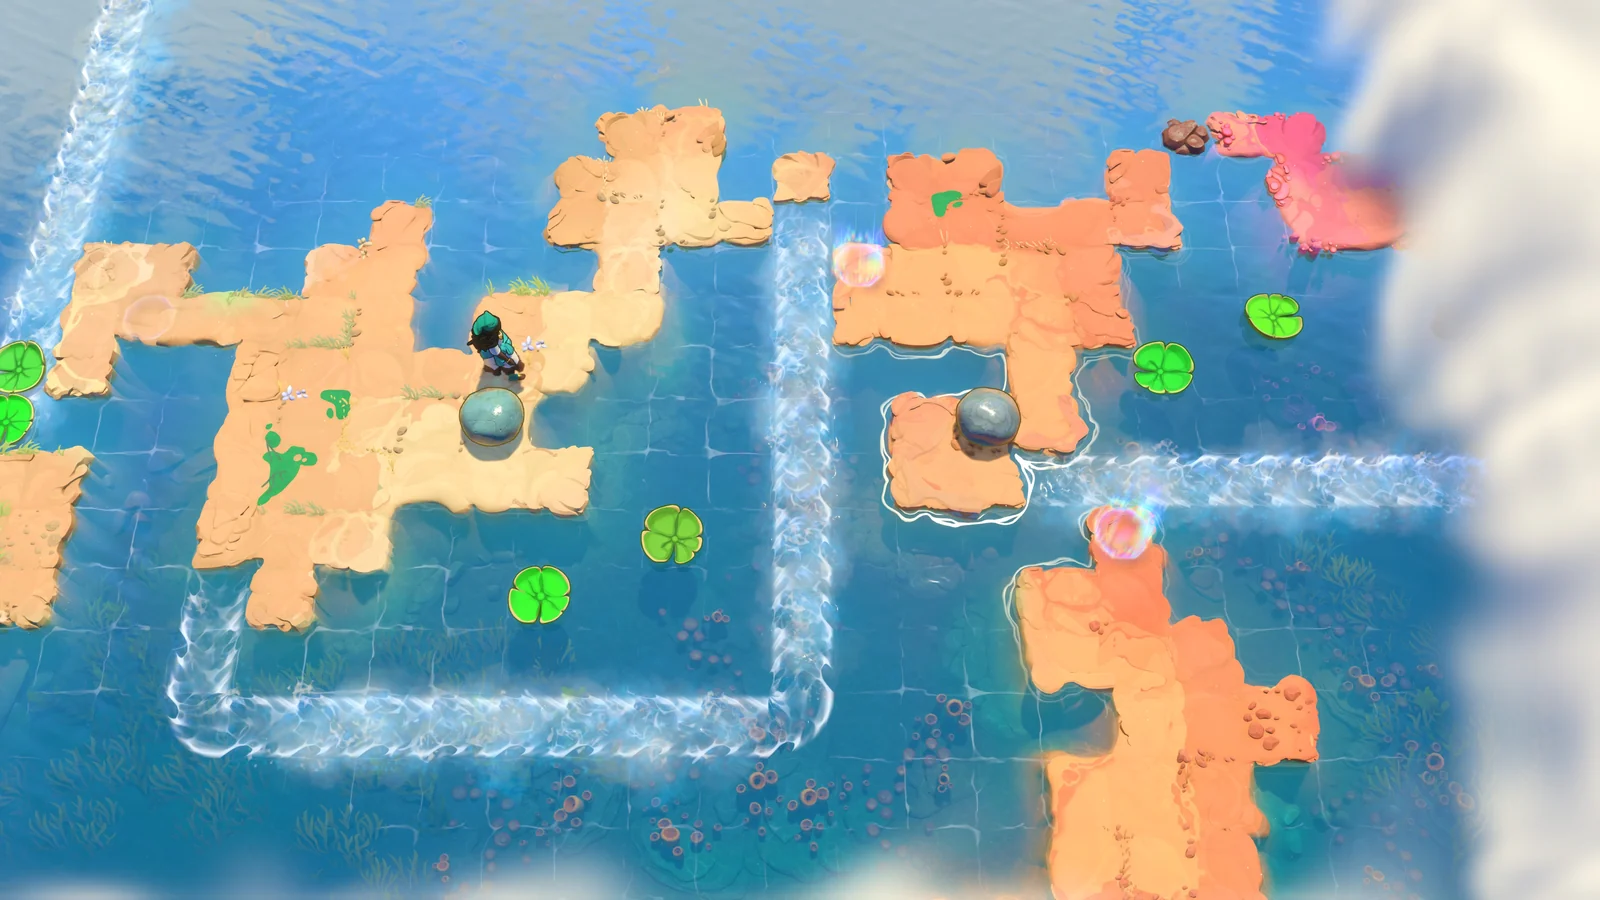
Identify the useful current before launching the pad. Once the pad enters flowing water, the current carries it onward. Compare that route with somewhere the Sailor can board and land where he can disembark. A pad moving through water is only useful as a crossing when you can reach and leave it at the necessary positions.
If the result differs from your expectation, inspect the stone's route beside the pad before changing several objects. A failed launch can be a useful test of the interaction. Undo it, keep the observation, and choose a new launching position that addresses the direction you actually need.
Separate placement, water movement, and boarding
A crossing contains several conditions. The stone must begin from a useful position; the pad must enter the route you intend; and the Sailor must be able to board after triggering the movement. Solving only one condition leaves a moving object without a complete crossing.
- Identify the land you want to reach and a place where a pad can take you there.
- Inspect the water and current between that destination and your reachable land.
- Find a stone launch that gives the pad the needed movement.
- Check the Sailor's route from the launching position to the boarding point.
- Carry out the crossing with slowed time if the remaining difficulty is execution.
These steps describe a planning method rather than a fixed move sequence. Some puzzles require other stones, more than one pad, or a reflected position first. Read the current arrangement before assuming the simplest crossing is also the intended one.
A missed boarding moment calls for a timing adjustment. A pad travelling the wrong way calls for a placement adjustment. A pad following the correct route while the Sailor cannot reach it calls for an access adjustment. Keeping these failures separate makes the next attempt answer a specific question.
Prepare the route before you start the moving part
Before launching a pad, trace how you will reach it. Check the land route, any stone occupying it, and the point at which the pad passes that position. Preparing the Sailor's access can matter as much as preparing the pad's lane.
The southern area spans connected spaces, so a pad can carry you somewhere beyond the immediately visible goal. Do not label that journey a failed attempt simply because it leaves the current screen. Inspect where it goes and whether the destination provides the next useful action.
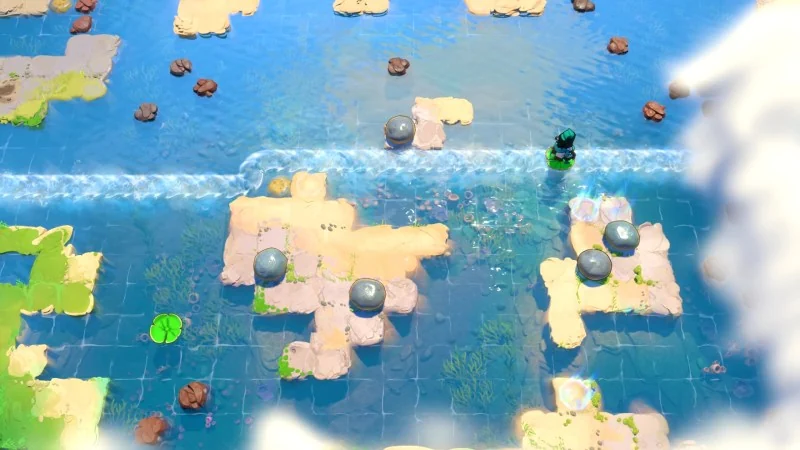
Conversely, do not assume every ride that reaches land is progress. A destination can leave a stone inaccessible or prevent you from making the next launch. Before committing resources to a crossing, identify what you need on the far side and which stones must remain available afterward.
Use undo if a crossing produces an unusable arrangement. Return to the decision that removed access, then plan the next interaction from the recovered state. Continuing to ride the same pad cannot replace a stone you sent somewhere unavailable earlier.
Use a lily pad to carry a stone into a useful position
Lily pads can do more than carry the Sailor. A stone can occupy a pad, and the pad's movement can take that stone to a position it could not reach from its original island. Another skipping stone can affect the pad and move the carried stone onward with it.
This changes the question you should ask when a rock seems impossible to position. Instead of looking only for a direct stone launch to the destination, inspect whether a pad can transport it. Then identify how the Sailor will reach the position needed to interact with it afterward.
Keep the load and boarding arrangement distinct. A pad carrying the rock does not automatically supply the place where you should stand. The next action can require reaching another pad, another island, or a mirror position before moving the loaded rock.
After an experiment, observe what actually moved. If the stone reached useful water but the Sailor lost access, the transport idea may be correct while the character route needs attention. Reverse the sequence and preserve the placement lesson rather than discarding the whole approach.
Distinguish southern puzzles from Mirrors and Stones
Later mixed areas combine the Sailor's stones with the Trader's mirrors. Reflections can transfer characters and rocks among islands, adding another way to reach a pad or prepare its movement. A solution involving a mirror is therefore specific to that mixed arrangement.
Identify the characters and devices before borrowing a sequence. If you only have the Sailor, stones, and pads, an instruction to reflect across the water does not apply. If a mirror is present, inspect its relationship to the starting and destination positions before making a timed launch.
The most useful mixed-area habit is to prepare the reflection geometry first. A moving pad may only provide a brief useful position relative to the mirror. If you wait until it is already travelling before deciding where the mirror belongs, you are combining an unresolved spatial problem with an execution problem.
Part 2 Stage 1: board a passing pad through reflection
In Mirrors and Stones Part 2, Stage 1 uses two mirrors and a stone to create a pad route. Begin by moving the first mirror north and right so you can reach the second portion of the island. Reflect the Sailor behind the stone and send that stone down, then across to the left, with the first mirror moved out of its way.
Before returning, set the second mirror at the top-left of the island where the skipping stone began. Back on the first side, move the stone left so it is just west of the lily pad, and prepare the first mirror near the bottom-right of the island.
Launch the stone to set the pad moving. Reflect the Sailor onto the pad as it passes the useful position. When the moving pad reaches the relationship needed for the second mirror, reflect him onward to the final island and exit.
The important sequence is preparation, launch, boarding, then transfer. The two mirror positions supply access at different moments. If the pad's motion is correct but a reflection cannot reach it, inspect the relevant mirror and character starting position before changing the stone's launch.
Part 2 Stage 2: make a platform before moving the pad
Stage 2 requires a small platform before the Sailor can use the pad route. Place the mirror one tile below the north edge and one tile in from the west edge. Bring a rock to the south edge in line with it, then reflect the rock to establish a platform.
Move the mirror back one tile. Place the next rock south in line with it, but keep that rock away from the edge. Reflect it behind the existing submerged rock, then skip it toward the first rock.
Reflect the Sailor onto the second rock. From that position, send the rock south again to move the lily pad east. Reflect back and board the pad while its route is available.
The platform is preparation for the launch, not merely another crossing destination. If you try to move the pad before establishing the Sailor's working position, the required interaction will be missing. Match the described stage before applying these tile adjustments; they are not universal mirror-placement rules.
Part 4 Stage 1: return the stone for another launch
A later example in Mirrors and Stones Part 4 repeatedly returns the skipping stone from the Trader's side. This is useful when one pad has moved correctly but the arrangement still needs another launch.
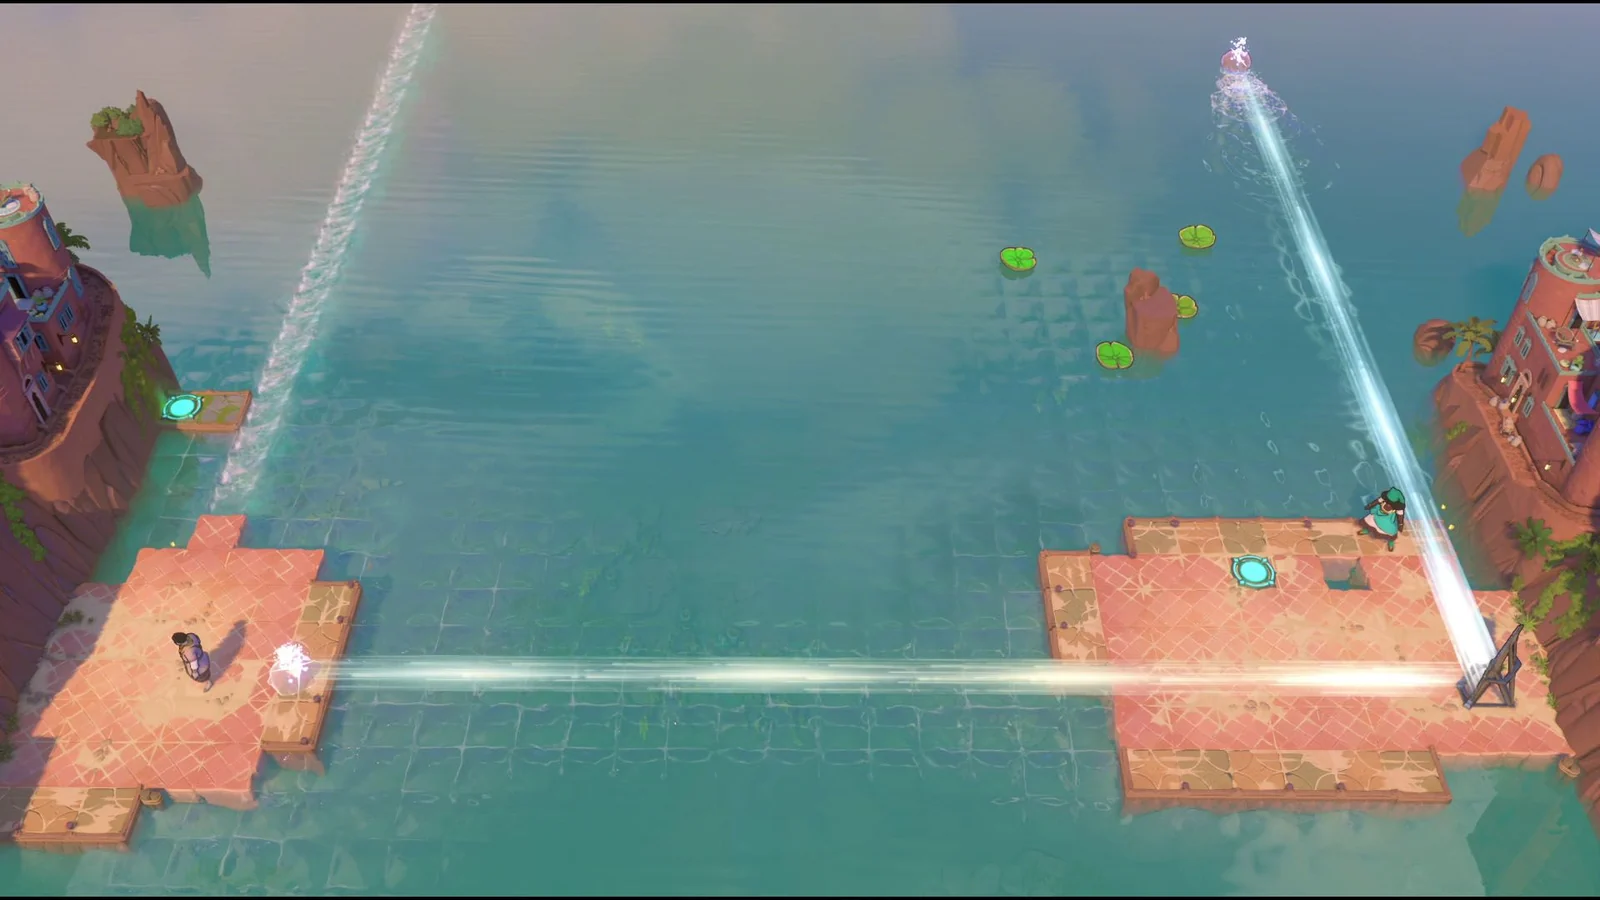
First move the mirror right twice to line it up with the skipping stone. Launch the stone, reflect it after it bumps the pad, and have the Trader send it back. The return keeps the resource available for the next change instead of treating the first launch as the stone's only use.
For the next pass, move the mirror left twice. Send the stone west and reflect it after it clears the platform, then reflect it again so the Trader can return it. A later pass moves the mirror to the west edge, launches the stone north, and uses reflection timing so the stone passes the first pad and affects the second.
Finally, launching the stone into the rock protruding from the water sends the last pad into place, giving the Trader access to the exit. The stage's repeated returns let the same stone serve successive pad adjustments. If it stops somewhere inaccessible, recover the return arrangement before attempting another launch.
Slow time after the arrangement makes sense
Use the game's time-slowing function when you understand the route but need more time to board, reflect, or coordinate the moving objects. Establish the stone and mirror positions first, then carry out the moving part.
Slowing time does not make a wrong reflection destination useful or move a stone into the missing launching row. If the spatial relationship is still unclear, inspect it in a stable state before trying another timed attempt.
After a failure, return to the first condition that went wrong. Retain a correct pad route when you only missed boarding. Retain correct mirror geometry when the stone launch was misplaced. Recover an accessible rock when the previous transfer consumed the resource. This keeps each retry focused on the crossing you need rather than on unrelated changes elsewhere in the level.