If a block is stuck in Order of the Sinking Star, undo the move that removed access to a useful side of it before resetting the whole puzzle. A block against a boundary can be impossible to push back with the current character. The northern heroes also move objects differently: the Warrior pushes, the Thief pulls, and the Wizard exchanges positions. An object that cannot be recovered by pushing may therefore need a different available hero, or an earlier arrangement that lets that hero reach it.
There is no universal move sequence for every stuck block. The correct recovery depends on the room, its available characters, and the object position before the mistake. Use the checks below to distinguish a lost pushing position from an automatic character interaction or a separate hazard.
Check the missing pushing side first
A push needs more than an empty destination. You also need a position from which the current hero can act on the block. Moving an object closer to the apparent goal can remove that position, especially beside a boundary. Look around the block before adding more moves. Identify the direction you now want it to travel, then inspect the opposite side where the pushing character would have to stand.
If that side is outside the playable floor, the problem is access. Continuing to push from the remaining sides will not recreate the missing tile. Undo until the object is back in a position where the needed side is available. If the character can reach that side but another object occupies it, the issue is the order of your movements. You may need to clear that position before moving the target block into the corridor.
Some rooms use visual floor markings to draw attention to this risk. A line set inward from an edge can warn you that a further push will put an object against the boundary. Treat such markings as a reason to inspect the next position, rather than assuming that every decorative line represents a universal rule.
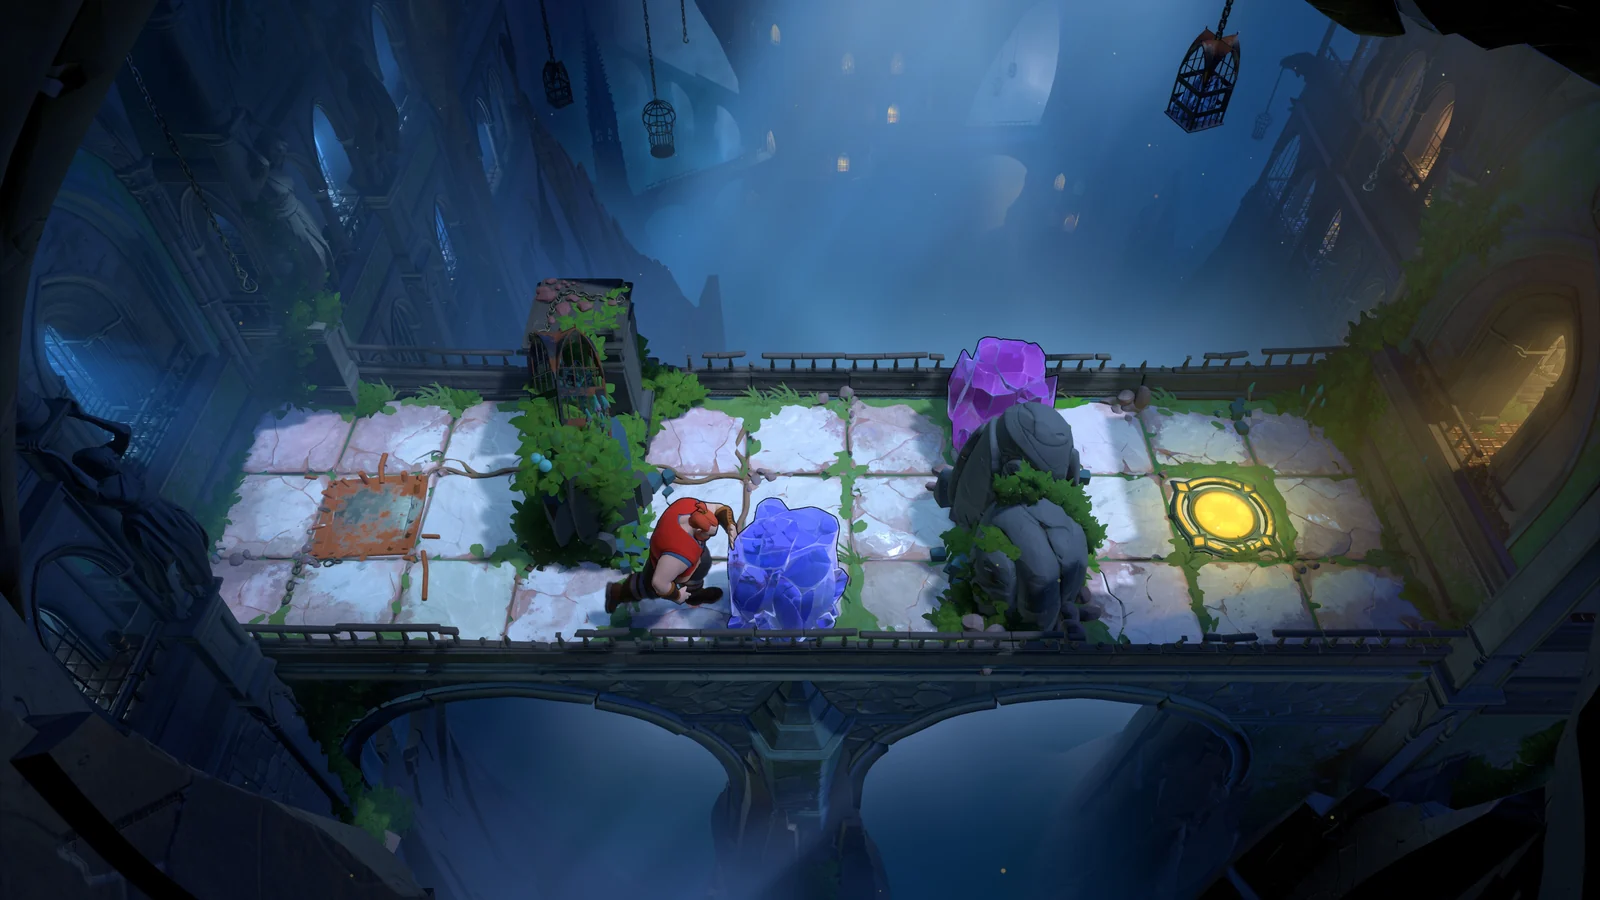
Check the grid positions available for the next push.
Identify the hero making the move
The northern puzzle characters are mechanical tools, not interchangeable avatars. Their interactions occur as part of movement. Trying to repeat the Warrior's route with another hero can produce a completely different object arrangement.
| Available hero | Relevant behavior | What to inspect when a block seems stuck |
|---|---|---|
| Warrior | Pushes blocks, including a row of multiple blocks | Whether the entire movement still leaves usable floor and access |
| Thief | Pulls an object when moving away from it | What is behind the Thief before the next step |
| Wizard | Exchanges positions with an object in the direction of movement | Which object occupies the intended line and where the exchange leaves it |
| Bard | Moves objects caught in her aura with her | Whether an extra object will move during the attempted recovery |
Only consider heroes actually present in the room. This table does not mean you can summon a missing party member to repair every deadlock. If the room provides one hero, the intended approach must be judged using the tools that room gives you.
For a mixed party, inspect the inactive heroes as carefully as the active one. A companion can occupy the tile needed to get behind a block. Moving that companion first might restore the route, while moving the block first might trap both characters. Ask what the next hero must be able to reach before making the current hero's move.
Recover a bad push without losing the useful setup
Use a short recovery sequence when you can identify the mistake:
- Stop issuing movement inputs once the block no longer has the access you need.
- Undo one move and inspect both the block and the active hero.
- If the required side is still inaccessible, continue undoing until it becomes reachable again.
- Before replaying, determine which tile must remain free for the next action.
- Reposition the appropriate hero or obstruction while that access is still open.
- Make the revised push and check that the next necessary action remains possible.
These are recovery checks, not a solution for a named room. The point is to return to the last useful arrangement rather than merely the previous image on screen. Sometimes the visibly bad push is the final consequence of an earlier move that closed a corridor. Undoing only the final push then replaying it differently may still leave the underlying blockage in place.
If you cannot remember the intended arrangement after several experiments, a room restart can provide a clearer starting point. Preserve the lesson from the failed attempt: which side became unavailable, which hero needed it, and which earlier object was placed in the way. Without that information, a restart can lead directly back to the same deadlock.
Account for the Thief's automatic pulling
The Thief is particularly easy to misread when a planned walking route changes the puzzle behind her. Moving away from an object pulls it; the action is not simply ordinary walking followed by an optional ability. A retreat that looked like harmless repositioning can therefore move the block you had already arranged.
Before moving the Thief, look at the object immediately relevant to her pulling direction. If you want the block to remain where it is, reconsider the route rather than repeatedly trying the same departure. If you want to bring it out of a difficult position, first inspect where the Thief will finish and whether that destination still permits the following move.
Also distinguish a trapped position from a dead character. Hazard interactions can create a board on which the required hero no longer functions. In that case, trying another route from the same failed state may be pointless; undo the action that caused the hazard. An unusual overlap or continuing dialogue is not enough by itself to identify a current game bug.
Account for the Wizard's position exchanges
The Wizard does not solve an obstructed route by behaving like a stronger pushing character. Moving toward an object exchanges the two positions. The location where the Wizard stood becomes part of the result, so every attempt to use him must account for both ends of that exchange.
Start by identifying the object in the intended direction. Then inspect the Wizard's starting tile. If that tile is useful as an object's next position, an exchange may provide a recovery route that pushing cannot. If it blocks another hero's only passage, the same exchange may create a new problem.
Do not assume the visually closest target is always the interaction you meant to cause. A straight approach can trigger the exchange rather than move the Wizard into a walking position. Plan how to reach the desired side while preserving the objects that other characters still need. When the resulting arrangement surprises you, undo immediately and compare the two occupied tiles before trying another direction.
In later puzzles, switching between heroes can be necessary repeatedly. Think in terms of a handoff: one character places the object where another character can use it. A handoff is complete only when the second character can actually perform the next interaction, not when the object merely looks close to its destination.
Check whether the object belongs to a combined mechanic
Later areas combine the separate worlds' rules. A block in such a room may also interact with a mirror, a water crossing, or a beam-powered character. The familiar pushing layout is only part of the problem.
For example, mirror combinations can reposition objects through reflections, and water combinations can use stones to create a usable route. Before pushing an object against an edge, inspect whether its current position is also needed for a reflection or a crossing. A move that preserves the Warrior's access might still destroy the other character's route.
Keep this diagnosis local. You do not need to relearn every world to recover one object. Identify the additional device actually visible in the room and the job the block appears to perform there. If a mirror is present, compare the object's current and reflected positions. If water separates the characters, check whether the block is serving as part of the crossing. If a beam is involved, inspect which character currently has the ability needed to move it.
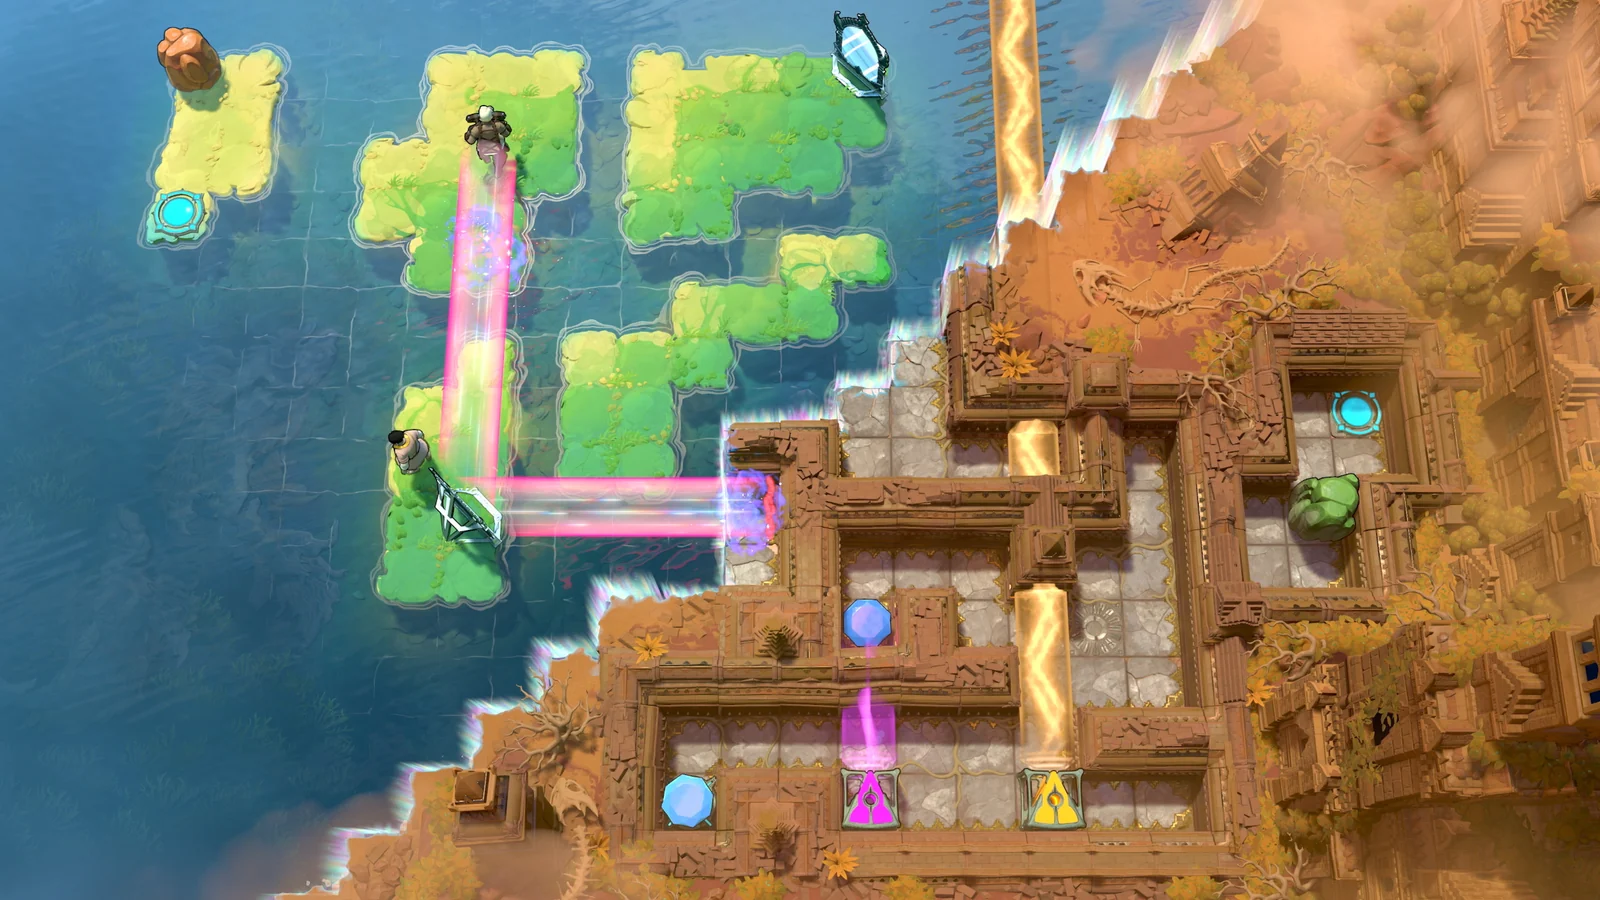
Check both characters’ positions and the shared devices before moving an object.
Use the whole room to choose the next attempt
Once you have returned to a useful state, plan backward from the next required interaction. If the block must move upward, identify the character position needed below it. If that position is reachable only before a different object moves, reverse the order of those two actions. If the Wizard must exchange with the block, preserve his useful starting tile until that exchange has happened.
Avoid judging progress solely by the distance to the exit. An object farther from the goal may leave more useful approaches open. Conversely, an object beside the goal can be unusable if no hero can reach the side needed for the final movement. The working arrangement is the one that preserves the remaining actions.
Use the room's wider view when a corridor continues beyond the immediate scene. Multiple characters and objects can make a local move appear correct while its effect elsewhere is unfavorable. You are looking for the next missing access point, not for a decorative clue that guarantees a solution.
Decide between recovery, a fresh attempt, and another route
Continue with undo when the lost access is identifiable and much of the setup is still useful. Restart the room when repeated experiments have made the arrangement difficult to reason about. Leave for another region when you understand the board but have no new approach to test.
The game supports returning to unfinished puzzles, and leaving a puzzle for the overworld can preserve its configuration and move history. Returning to a saved deadlock therefore does not necessarily mean the restart function failed. You may simply be seeing the arrangement you left behind. Inspect the room before assuming it has been restored to its beginning.
For the next attempt, keep a concrete objective: preserve one pushing side, avoid one unwanted pull, or leave one useful exchange tile open. That makes the experiment informative even if it does not solve the room. Once that access survives, move on to the next obstruction rather than replaying the entire sequence without checking its consequences.