The documented Xbox layout uses the left stick or D-pad for movement, Y for undo, the View button for restart, and the Menu button for the menu. X is the primary action, A is the secondary action, B switches characters, and LB is the niche action. Use the prompts shown by your installation if your controller or configured layout differs.
Xbox Layout Reference
| Command | Xbox-layout input |
|---|---|
| Move | Left stick or D-pad |
| Run | RB |
| Speed up time | LT |
| Run and slow time | RT |
| Restart | View button |
| Menu | Menu button |
| Undo | Y |
| Primary action | X |
| Switch characters | B |
| Secondary action | A |
| Niche action | LB |
| Overhead view | Press left stick |
| Local area view | Press right stick |
| Character select | Right stick |
The distinction between moving a stick and pressing it is important. Moving the right stick is the character-select input; pressing the right stick is Local Area View. Likewise, moving the left stick is movement, while pressing it invokes the overhead view. Do not diagnose an unexpected view change without checking whether you clicked the stick during the input.
This is an Xbox-layout table. It is not a verified PlayStation or Nintendo button chart. For another controller, use the command names to match what the game displays, rather than translating the letters by memory and assuming that every platform places them identically.
Choose a Clear Movement Test
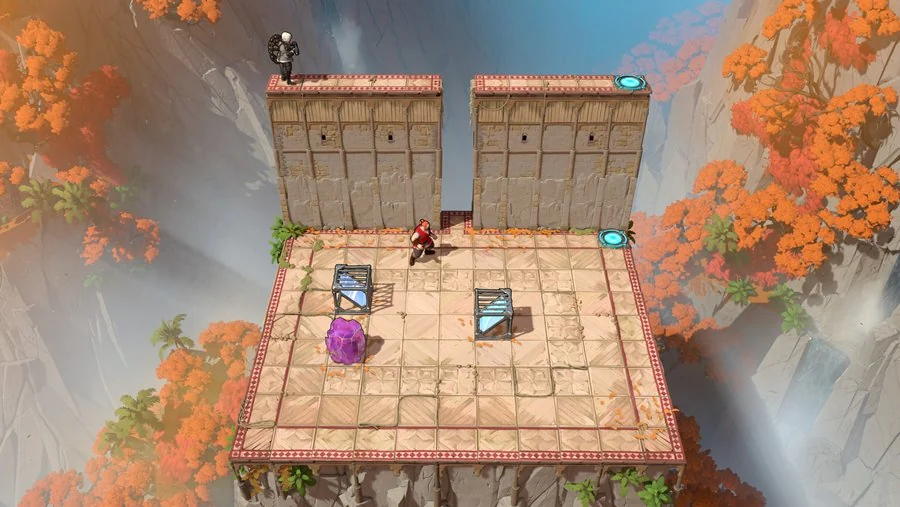
Use an open neighboring tile for a short movement check. This is a gameplay reference, not a controller settings screen.
Find a space where a single legal move has an obvious result. Avoid starting beside a crucial movable object, a narrow passage, or a dangerous interaction. The first check should establish what the controller sends, not test whether you have solved a puzzle.
Try the D-pad with one short directional press, release it, and watch the result. Then try the left stick in a similarly clear space. Compare the two without changing other settings between tests. This gives you a practical basis for deciding which input is easier for you to control precisely.
The grid-based movement makes isolated inputs especially useful near objects. A longer hold can carry you beyond the position you intended to examine. While learning the layout, separate each input from the next so you can see which movement changed the arrangement.
If a direction works in open space but not against one particular object, inspect the selected character and the destination. Character-specific abilities and the room's constraints can change what is legal. Adjusting sensitivity cannot make an invalid puzzle move become valid.
Check Selection Before Actions
B switches characters, while the right stick provides Character Select. Test these commands before issuing actions in a room with several heroes. Confirm who is selected, then use the action you intend.
Once the correct character is selected, distinguish X, A, and LB by their command categories: primary, secondary, and niche action. Those categories do not imply that every hero has an identical action on every target. If a button seems ineffective in one situation, establish whether the character has the applicable ability and a valid target.
Keep Correction Buttons Familiar
Y is Undo. The View button is Restart. Make sure you can locate both without confusing the View and Menu buttons, since Menu opens the menu instead of requesting a reset.
Use a small, inconsequential movement to become familiar with Undo before you begin a long attempt. Look at the position before and after pressing Y so you recognize the effect of the command. Once that action is familiar, you can correct an accidental movement without interrupting your reasoning to search the layout.
Restart acts at a broader scale than correcting a single move. The controller binding alone does not establish the checkpoint destination of every puzzle. Use the reset command when you actually intend to reset, rather than pressing it while looking for Undo.
Separate the Three Time Controls
RB is Run, LT is Speed Up Time, and RT is Run and Slow Time. Because they sit near each other on a controller, it is easy to remember them merely as “the speed buttons.” Keep the command names distinct instead.
Begin a new puzzle with ordinary movement. When you need to test a timed interaction, add only the modifier relevant to that attempt. This makes the resulting sequence easier to read, particularly if an object moves while you are trying to reach another position.
For your own notes, record the command you used. “Run and Slow Time” gives a useful instruction when you return to an attempt; “hold a trigger” can refer to the opposite time behavior. Precision in the note prevents a control mix-up from being mistaken for a misunderstanding of the puzzle.
Test Stick-Press View Commands
Pressing the left stick invokes Overhead View. Pressing the right stick invokes Local Area View. These let you inspect the surroundings using the controller layout without substituting a mouse or keyboard command.
Try them while standing somewhere familiar so you can recognize the change of perspective. Then return to ordinary movement and check that the stick is being moved rather than clicked. If a view opens while you are attempting to move, review the physical input before changing your puzzle plan.
Use the view that gives you the information you need. A broader view can help identify a destination; a local view can help you examine nearby access. Seeing the destination does not prove that a direct path to it is available, so return to the room's grid and objects before committing to a route.
Keep Configuration Changes Small
Make one change at a time using the options actually available in your installation. Record the original value or mapping, then repeat the same movement or menu test. Changing several layers at once can make a successful result impossible to attribute and makes an unsuccessful result harder to undo.
Distinguish a Layout Problem from Duplicate Inputs
A layout problem gives you the wrong command for the button you pressed. Duplicate inputs repeat a command unexpectedly, such as taking two grid steps from a short D-pad press or leaving a menu and immediately returning. Those are different symptoms and need different checks.
For a layout problem, inspect the displayed mapping and compare the command name. For duplicate input, test one short press in clear space and record whether the same repetition happens in menus. Avoid repeatedly altering the face-button assignments when the observed issue is that one assigned command fires twice.