Order of the Sinking Star's documented PC hero switching controls are C for cycling characters and the number keys 1–9 for character selection. Use these in a puzzle containing multiple playable characters, then confirm which hero is active before moving. The exact numbered assignment depends on the characters available in that room; do not assume a fixed number-to-hero list.
On a controller, use the character-switch action shown by your current control layout. A keyboard letter is not a controller button, and console bindings should not be guessed from another game's layout. Switching selects an existing character. It does not exchange their positions or make an absent hero available.
Confirm the available characters first
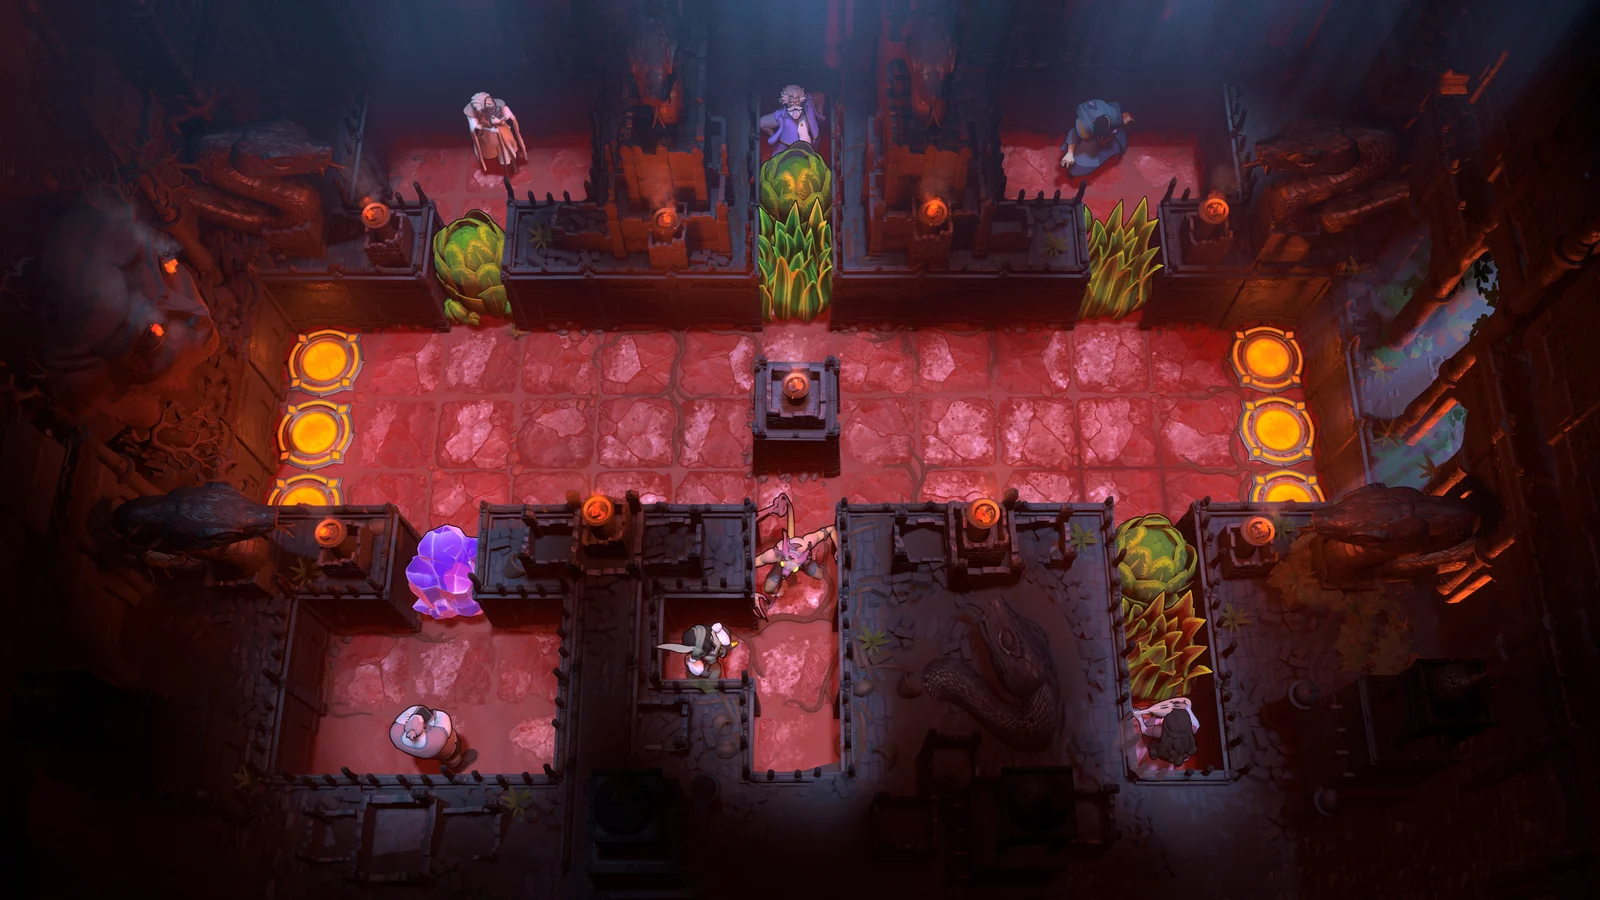
Character switching is useful only when the board provides more than one controllable character. The game includes multi-hero puzzles, particularly in the northern Hearty Heroes of Hauling and later combined areas. Their solutions can depend on changing control between characters repeatedly.
Inspect the board before choosing the first move. Identify the playable characters, the objects near each one, and the routes connecting their parts of the room. A distant hero can matter even if they are not beside the immediate obstruction. They may be the only character whose interaction can prepare the next step.
Do not interpret the number-key range as a promise of nine heroes in every puzzle. It is a selection input, not a party roster. Similarly, character selection does not let you import a hero from another level. Solve using the characters that the current puzzle actually provides.
If your room has one character and the switch action produces no useful change, inspect the room's mechanics rather than repeatedly cycling. The problem may require moving an object, using a mirror, or finding a different standing position. The presence of multiple characters elsewhere in the game does not establish a missing party member here.
Use the PC controls as selection inputs
The documented keyboard inputs relevant to a handoff are:
| Input | Action | How to use it during a multi-hero sequence |
|---|---|---|
| C | Switch characters | Cycle to another available character, then inspect the active one |
| 1–9 | Character selection | Select an available character and verify the result |
| W, A, S, D | Movement | Apply the selected character's movement to the board |
| Z | Undo | Recover if movement by the wrong character changes the setup |
Check your current controls if these inputs do not match what the game displays. A controller or a different input arrangement can change which physical button performs the action. The important operation is selecting the intended character before the next movement.
Press the selection input deliberately, then make a single movement whose result you can inspect. Avoid combining a long held movement with an uncertain selection. The selected hero's first step can move an object automatically, so several unintended moves can turn a simple selection mistake into a difficult recovery.
There is no confirmed fixed list here assigning a particular number to the Warrior, Thief, Wizard, or later party members. Read the room and the current selection result rather than memorizing a made-up mapping.
Separate switching from position-changing abilities
Switching changes the active character. A hero ability or a reflection can change where characters stand. These operations are different even when both result in your attention moving to another part of the room.
The Wizard exchanges positions with objects in the direction of movement. That alters the board and places the target at the Wizard's former position. A mirror can also move a character or object to a reflected position. Neither action is the same as selecting a stationary companion.
Before acting, state the desired result plainly. If you need the Thief to move an object from her current position, select her. If you need the Wizard to relocate an object, select him and then plan the exchange. If you need the Trader on another island, selection alone does not provide the crossing; the room's mirror arrangement must make it possible.
This distinction is especially important in clone rooms. The demo's pale orange star puzzle starts with two copies that can be selected separately. Changing the selected copy and changing the number or positions of copies through reflection require different reasoning. Inspect the physical character positions after any board-changing operation.
Verify the active hero before moving an object
The northern heroes do not share one generic object interaction. The Warrior pushes, the Thief pulls, and the Wizard exchanges. Selecting the wrong character can therefore change the board in a way that looks like a broken movement command.
Before a critical action, inspect three things: the active character, the object relevant to the intended direction, and the resulting positions. A move that pushes with the Warrior may trigger a position exchange with the Wizard. Walking away with the Thief may pull an object you wanted to leave behind.
If the result is unexpected, stop before adding another input. Undo the movement that changed the setup and confirm the active character again. Do not keep repeating the same direction until it appears to work. You may be applying a different hero's valid mechanic to an arrangement designed for someone else.
This check is worth doing after every major handoff. A correct opening selection does not guarantee that the same hero remains the intended choice for the entire sequence. Later puzzles can require switching back and forth to reposition objects and make routes usable.
Plan the handoff before pressing switch
A useful switch gives the next hero a job they can perform from the board's current arrangement. Select a character because their interaction is needed next, rather than cycling through the party without a specific objective.
- Identify the next object movement or crossing the solution needs.
- Choose the available character capable of performing it.
- Check whether that character can reach the required position.
- Finish any preparation using the current character.
- Switch and verify the active character.
- Perform the intended action, then inspect access for the following handoff.
The preparation is often the part that makes switching useful. If the Thief needs room to lead an object, clear that route before handing over control. If the Wizard's exchange must leave an object on a particular tile, position him there first. If another hero needs to get behind a block, preserve the necessary access while the first hero moves it.
A switch cannot repair an arrangement in which the next character has no usable action. If the handoff fails, inspect the earlier preparation. Undo to the move that removed access rather than treating character selection as a way to bypass the obstruction.
Follow a concrete Trader and Wizard handoff
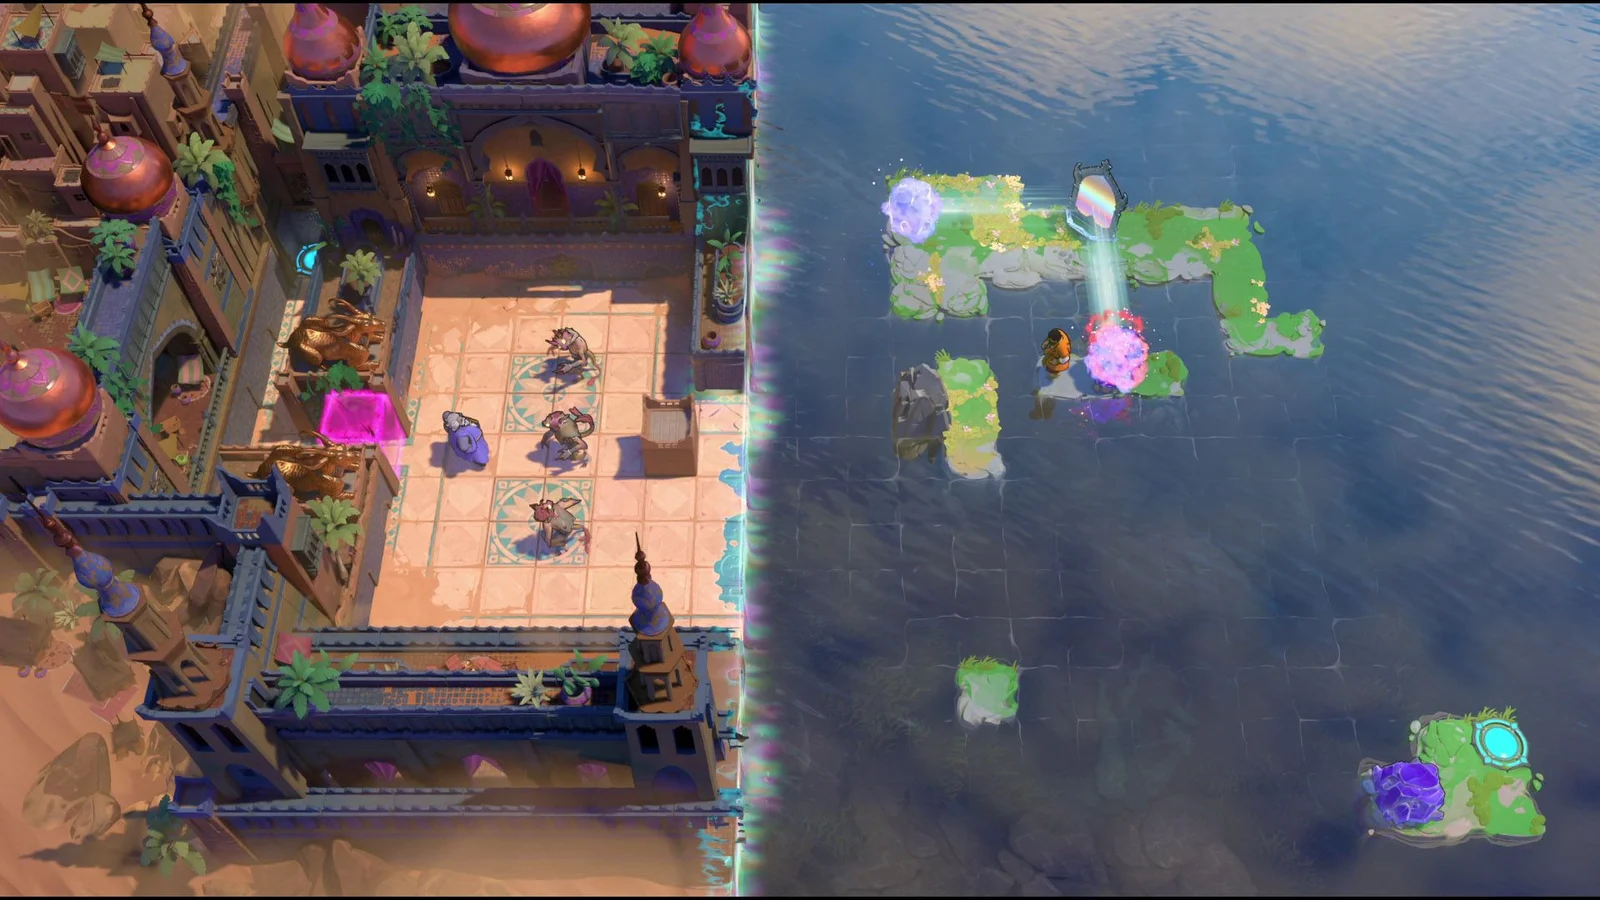
The Gold Stage in Heroes and Water Part 1 illustrates character switching within a combined puzzle. The Trader prepares a stone and mirror route. The Wizard then uses exchanges to arrange monsters, and the mirror returns one monster between the other two to eliminate the obstacle.
The important handoffs are between tasks. First the Trader's object and mirror positions create the conditions for the Wizard's exchanges. After the monsters are removed, the Trader moves the mirror into the water. The Wizard then exchanges positions with the Trader, allowing the Trader to reach the exit. A later exchange with the placed rock gives the Wizard his own route.
Use this example to inspect which character owns the next action. A selection should happen when the board is ready for that action. Switching too early can leave the new character unable to prepare the missing object; switching too late can lead the first character to disturb an arrangement that was already complete.
The example is specific to that Gold Stage. It does not assign permanent keyboard numbers to the Trader or Wizard, and it does not imply that every combined room uses the same order. The room determines the handoff; the selection control lets you execute it.
Keep inactive characters out of essential access tiles
Selecting a new hero does not remove the previous one from the board. Their position can still help or obstruct the remaining actions. Treat an inactive character as part of the arrangement you are handing over.
Before switching, inspect whether the current hero occupies a tile the next hero needs. A narrow corridor, an object's pushing side, or a useful target line can make that position consequential. Move the current hero to a useful place before handing over control, while accounting for any automatic object interaction their movement will trigger.
The same check applies after the next hero acts. The result may make the first hero useful again, so preserve their access until that return handoff is possible. A multi-hero solution can be a chain of alternating actions rather than one long turn for each character.
If a character reaches their apparent destination early, check whether their position prevents the others from finishing. The objective is a complete arrangement, not just one successful character route. Use undo when the board shows that the next required interaction has become unavailable.
Diagnose a switch that appears unresponsive
First check whether the room provides another playable character. Then check the character-switch binding for the input device you are using. A movement command that behaves differently after a switch can be evidence that another hero is active, even if you were looking at the wrong part of the board.
Make a small observation rather than a long test sequence. Select once, inspect the active character, and move one step only if the result is safe to reverse. If the board changes through an unexpected push, pull, or exchange, undo and compare the character positions.
Separate input issues from puzzle rules. If switching works but the new hero cannot perform the desired movement, inspect their ability and access. If the keyboard input does not select anything while a controller is in use, inspect the displayed controller action rather than assuming the room is broken.
The available information does not establish a universal fix for every input failure. A repeated failure to select a character despite a matching binding is different from selecting a hero whose movement cannot solve the current arrangement. Keep that distinction when diagnosing the problem.
Resume the sequence from a verified selection
After recovering from a mistake, identify the active character again before replaying the next move. Undo restores an earlier puzzle state; do not rely on memory alone to decide which hero should now act.
Keep your next segment short enough to describe: one character prepares a tile, another uses it, and control returns when the next task requires the first character's mechanic. That makes each switch purposeful and gives you a clear point to inspect when the sequence fails.
When the handoff works, continue from the resulting board instead of immediately cycling to another hero. Check who can perform the next necessary interaction, preserve their route, and then select them. The switching controls are most useful when every selection follows from a concrete job in the puzzle.