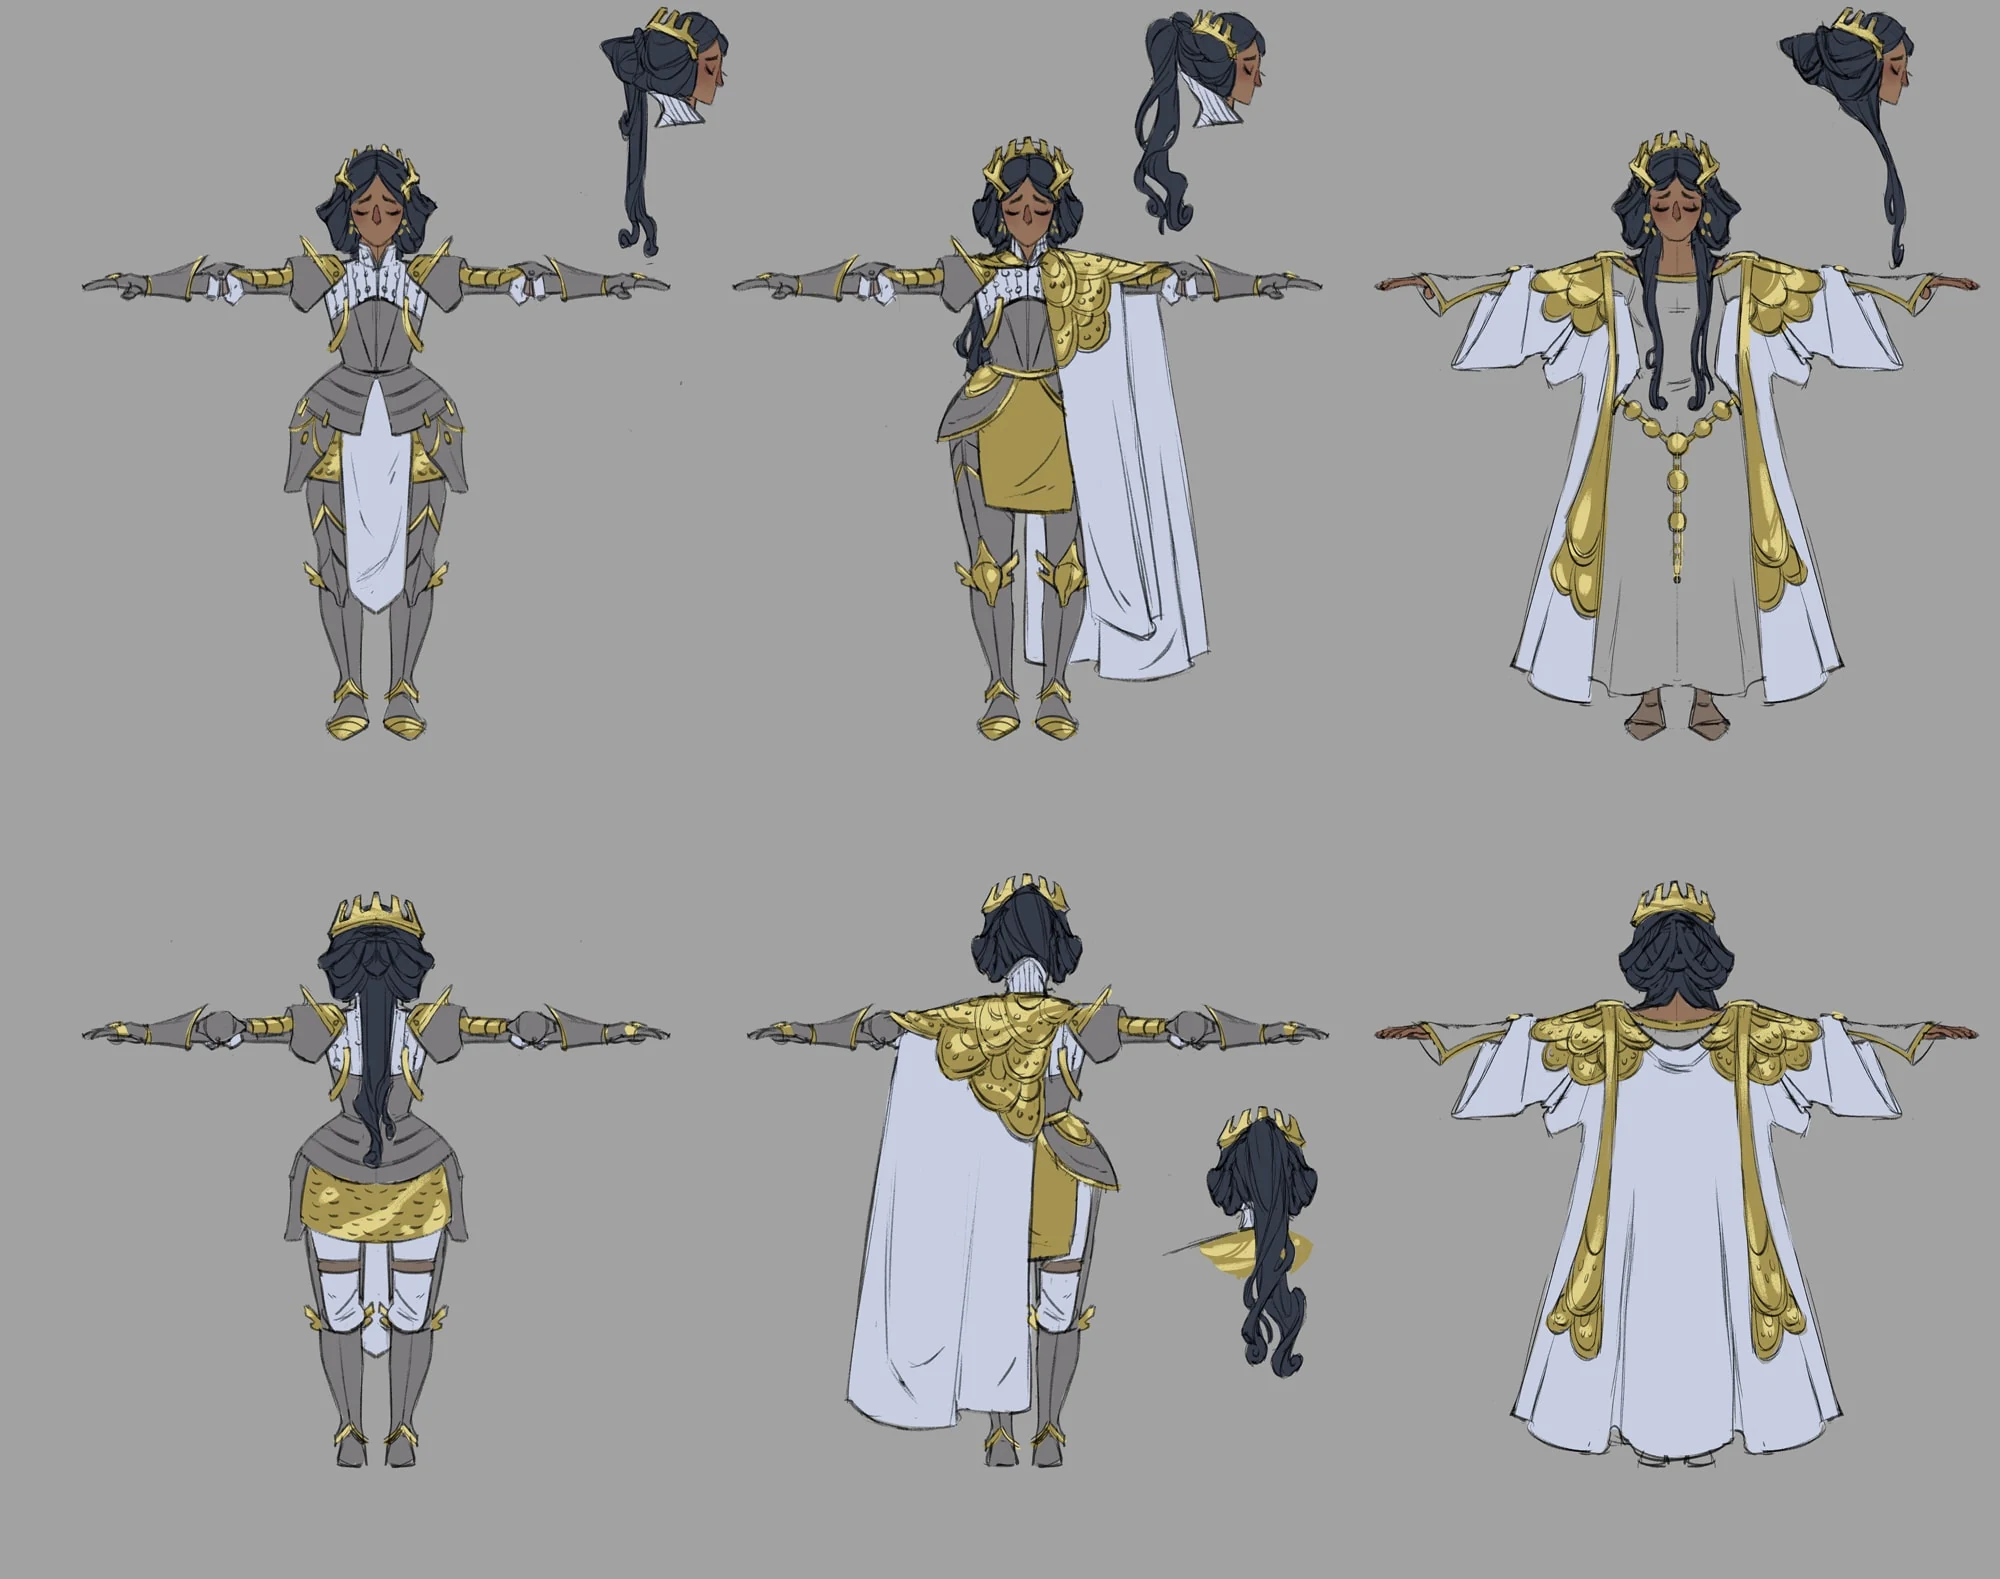
Order of the Sinking Star uses different hero movement rules as part of its puzzles. The Warrior pushes objects, the Thief pulls them behind her, and the Wizard exchanges positions with objects in his direction of movement. The same directional input can therefore create a different board depending on the active character.
Plan the interaction before the walking route. Identify which character is available, what their next movement will do to nearby objects, and where both character and object will finish. This guide focuses on those distinct movement relationships and their handoffs; it does not provide an unverified set of rules for every later hero or every combination in the game.
Compare the three basic object relationships
The northern Hearty Heroes of Hauling introduces a party whose members manipulate the same puzzle objects in different ways. Their usefulness depends on the arrangement, not on one character being universally better.
| Hero | Basic relationship with an object | Position you must plan |
|---|---|---|
| Warrior | Pushes objects forward, including a line of objects | The pushing side and space for the resulting arrangement |
| Thief | Pulls an object behind her as she moves away | The route in front of her and the object she is drawing along |
| Wizard | Exchanges places with an object along the relevant direction | Both the target position and the tile the Wizard leaves behind |
If a crystal must occupy one particular tile, choosing the appropriate hero is only the first part of the task. That hero must also reach a usable position for the interaction. A correct ability with no access is not yet a workable move.
Look at the inactive heroes as occupied tiles too. A companion can stand on the route another character needs. Before moving an object into a narrow passage, check whether the next hero still has a way to perform their part. This is why a puzzle containing three characters cannot always be treated as three independent single-character problems.
Use the Warrior to move a line without losing the next action
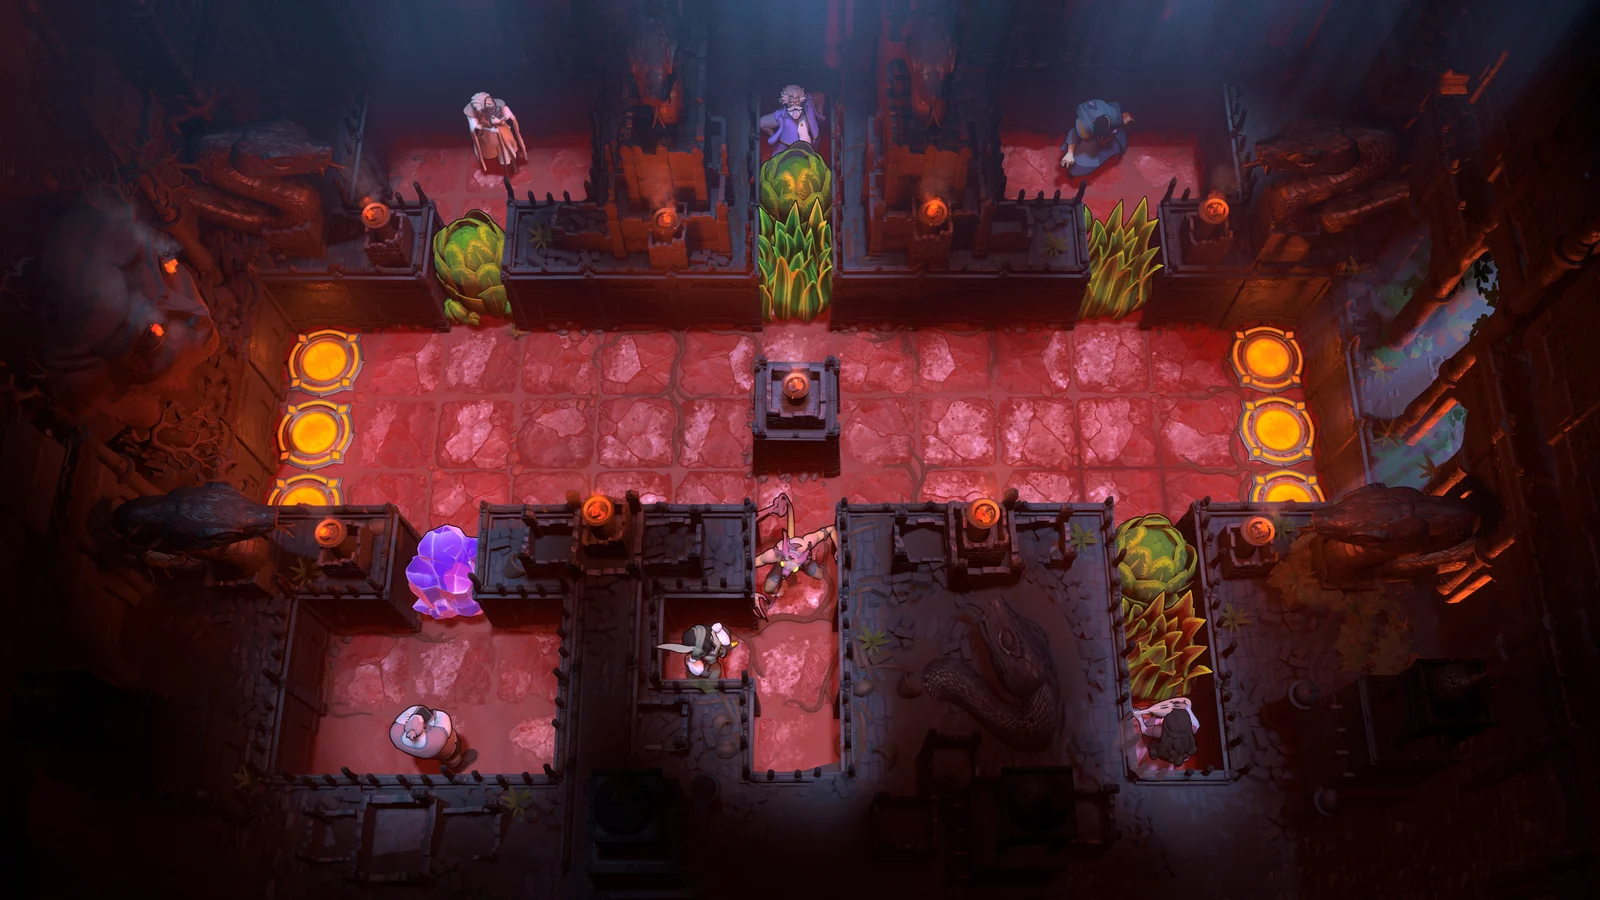
The Warrior's pushing behavior can move several objects arranged in a row. That gives him a way to manipulate an arrangement other characters cannot move by ordinary pushing. It also means one action can affect more than the nearest object.
Before pushing a line, inspect its far end as well as the block directly in front of the Warrior. Determine where the resulting objects will sit and whether the remaining heroes can still reach their necessary sides. A movement that clears the Warrior's immediate path may occupy another character's only useful standing tile.
Work backward from the next interaction. If the Thief must pull one of the objects after the push, leave a route in which she can lead it. If the Wizard must exchange with it, inspect whether his starting position and target line remain useful. The purpose of moving several blocks is to prepare the rest of the board, not simply to advance the entire row toward the exit.
When the resulting arrangement is wrong, undo the push before adding unrelated moves. Compare the whole row before and after the action. This makes it easier to distinguish an incorrect destination from a correct destination that was reached in the wrong order.
Lead objects with the Thief
The Thief's movement pulls objects behind her. Think of the route as one you lead an object through, rather than the Warrior's route from behind a block. Both the character's path and the object's following position matter.
Before stepping away, inspect what lies behind the Thief. If you meant to reposition only the character, the pulling interaction can also move an object you wanted to keep in place. If you meant to reposition the object, inspect whether the next step leaves the Thief able to continue the pull or hand the object to another character.
A useful planning distinction is whether you want to move with the object or move independently of it. The first requires an appropriate pulling arrangement. The second requires a route that avoids disrupting the object through the Thief's movement. Do not assume the retreat you used with the Warrior will leave the same board when performed by the Thief.
If a pull undoes a useful object placement, return to the previous state and change the route or the order of actions. Moving the object back afterward can cost access elsewhere. It is clearer to preserve the placement before walking away than to repair every consequence after the unintended pull.
Track both ends of the Wizard's exchange
The Wizard changes places with an object instead of simply pushing it out of the way. The object's destination is the Wizard's former tile. That tile must therefore be part of your plan from the beginning.
Inspect the target line before moving toward an object. A direction intended as ordinary movement can produce an exchange when the appropriate target lies along it. If you need to reach a different side of the room, plan that approach while accounting for the objects that can trigger the interaction.
For an intended exchange, describe the outcome in two parts: where the Wizard will finish and where the object will finish. The first might give the Wizard access to another area; the second might clear a route or block one. A useful teleport for the character can still be an unfavorable placement for the object.
The Wizard can also work with other characters and monsters in combined puzzles. That makes character positions part of the object arrangement. Treat an exchange involving a companion as a handoff whose two resulting positions must both serve the solution, rather than as a convenient way to move only the Wizard.
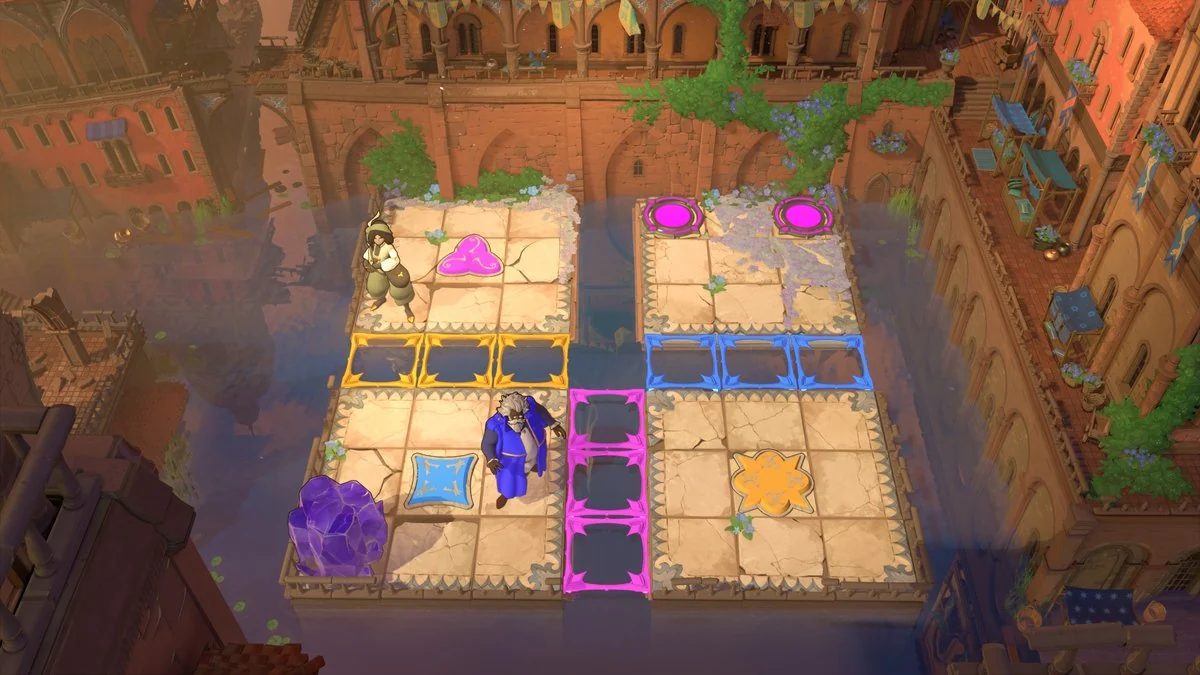
Inspect the Wizard’s position and the crystal’s position before an exchange.
Prepare the next hero before finishing the current move
In a multi-character room, plan in short segments. Decide which hero makes the next useful interaction, where they need to stand, and what the current hero must leave available for them.
- Identify the object or route that needs to change next.
- Choose the available hero whose interaction can make that change.
- Find the standing position that hero needs.
- Move another hero or object first if it currently occupies that position.
- Perform the interaction and inspect both resulting positions.
- Check access for the following hero before adding another move.
This is particularly helpful when an early move looks productive but leaves the later step impossible. A crystal can be close to its final position while its required pushing side is unavailable. A Thief can be beside the right object but have no room to lead it. A Wizard can face a useful target while his own starting tile would become an obstruction after the exchange.
The order of operations solves these problems. Use the currently open access before the board narrows. If a sequence repeatedly fails at the same handoff, undo to the point where that access still exists rather than trying to improvise from the final blocked arrangement.
Read a combined Wizard and Trader example
The Gold Stage described in Heroes and Water Part 1 pairs the Wizard with the Trader and mirrors. The Trader prepares the stone and mirror arrangement; the Wizard then exchanges positions with monsters to set up a clearing interaction. This is a concrete example of distinct movement rules sharing one board.
The initial objective is preparation, not immediately getting both characters to their exits. The Trader reflects a stone, moves it to create the needed route, and moves the mirror south. The Wizard then repositions a monster toward the southeast part of the platform and sends it through the mirror.
Next, the remaining two monsters are arranged on either side of the reflected monster's return position. Returning that monster between them causes all three to be eliminated. The important movement relationship is that the Wizard's exchanges create positions the reflection can use.
After the obstacle is cleared, the Trader pushes the mirror into the water. The Wizard exchanges positions with the Trader so the Trader can access the exit. The Wizard then uses the placed rock to reach the position needed for his own finish. The exact route belongs to that stage, but the handoff illustrates why both sides of each exchange matter.
Distinguish a correct mechanic from an incomplete sequence
Understanding the three movement rules does not automatically tell you their order in a room. You may correctly predict every individual push or exchange and still leave no route for the final action.
When this happens, inspect the first point where the sequence loses access. If the Warrior puts a crystal on the intended tile but the Thief cannot get into position, the issue is the preparation order. If the Wizard reaches the desired island but leaves an object blocking the Trader, the issue is the other end of the exchange. If the Thief carries an object successfully but pulls it away while leaving, the issue is the final departure route.
Name that failure before undoing. It gives the next attempt a testable change. Instead of trying a completely different sequence at random, preserve one important tile, change which hero moves first, or stop an object one position earlier while another character passes through.
These are deductions from the characters' movement relationships. They are not claims that one fixed arrangement solves every room. The board determines which access points are essential.
Test unfamiliar movement with a reversible observation
When a hero behaves differently from what you expected, make a small test in a state you can inspect. Identify the character, the nearby object, and the intended direction. Make one move, observe what changed, and undo if the result disturbed your setup.
For a push, inspect every affected object. For a pull, inspect the tile the object followed into. For an exchange, inspect both former positions. This method avoids confusing a mistaken prediction with an input that failed to register.
If the room contains more than one regional system, isolate the hero interaction before reasoning about the combination. A reflection or water route can add another effect, but it does not remove the need to understand the immediate movement. Once that local result is clear, determine how it prepares the other character's next action.
Stop the test when it answers the question you were investigating. You do not need to continue moving until the board becomes difficult to remember. Keeping the experiment small preserves the useful arrangement and makes the next decision easier to judge.
Finish with a route for every required character
Before treating a major object movement as progress, check the remaining characters. Each one needed for the room must retain access to its next task and eventual destination. An arrangement that works for the active hero alone may leave another hero trapped behind the moved objects.
Use the whole board to inspect these routes. Narrow passages, distant target lines, and inactive characters can all matter to the next handoff. If the final step is unavailable, return to the earlier interaction that changed that route. Do not assume the last hero simply needs a different input.
Your next attempt should preserve one concrete relationship: a pushing side, a pulling corridor, or a useful starting tile for an exchange. Once that relationship survives, check the next one. The puzzle becomes a sequence of usable hero actions instead of a series of individually clever moves that cannot be joined together.